Create a web app project
Start with a blank app or a project template from Apps.
Create projects from Apps in your workspace. Each project has its own screens, settings, backend configuration, and published web address.
Create the project
- Open Apps from the workspace sidebar.
- Use the new-app control to open the creation dialog.
- Enter the project’s name and choose Continue.
- Under Choose a template, select Blank App or one of the prepared templates, then create the app.
- Open the project to continue in the visual editor.
Available project templates include Food Delivery, AI Chat, E-Commerce, Fitness Tracker, Appointment Booking, CRM Pipeline, Social Media, Task Manager, and Expense Tracker. A template is a starting structure: inspect its data and actions before using it with real users.
Find a project, name a new app, and open the right project action.
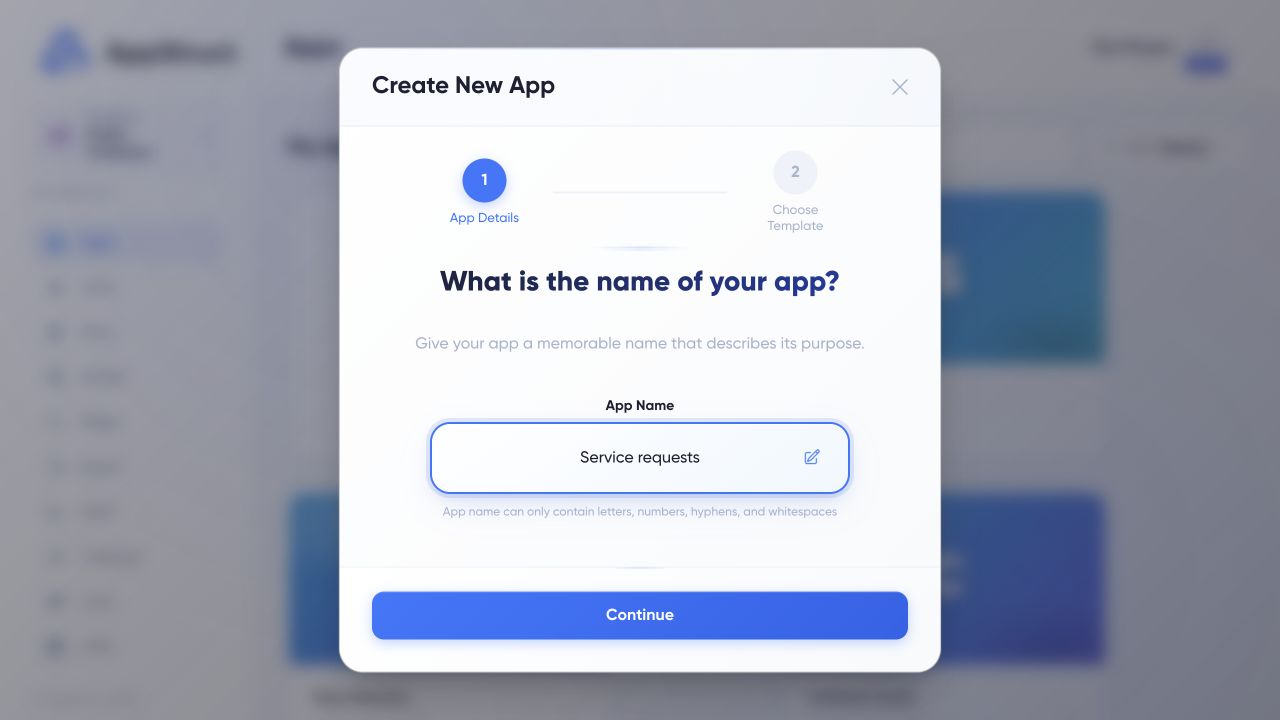
App Details comes first. Enter the project name, choose Continue, then select Blank App or a project template on Choose Template and finish with Create App.
Web interface captured on 5 Nov 2026. Workspace names, files, people, and conversations are fictional examples.
Plan your first screens
For a small web app, begin with a home screen, the main task screen, and a confirmation or detail screen. Add only the components needed to complete one journey.
The current creation flow selects a template and project name. Choose Web App later, inside Publishing, rather than looking for a target-platform step in project creation.
If creation is unavailable
The app checks project availability against the account's subscription. If a limit or payment message appears, review Subscription or the billing message shown in the interface. Check current plan details there before changing a subscription.