🗝️ Setting up Your Account
Welcome to AppStruct! Before you start creating powerful mobile, desktop, and web applications without writing a single line of code, let's get your account set up.
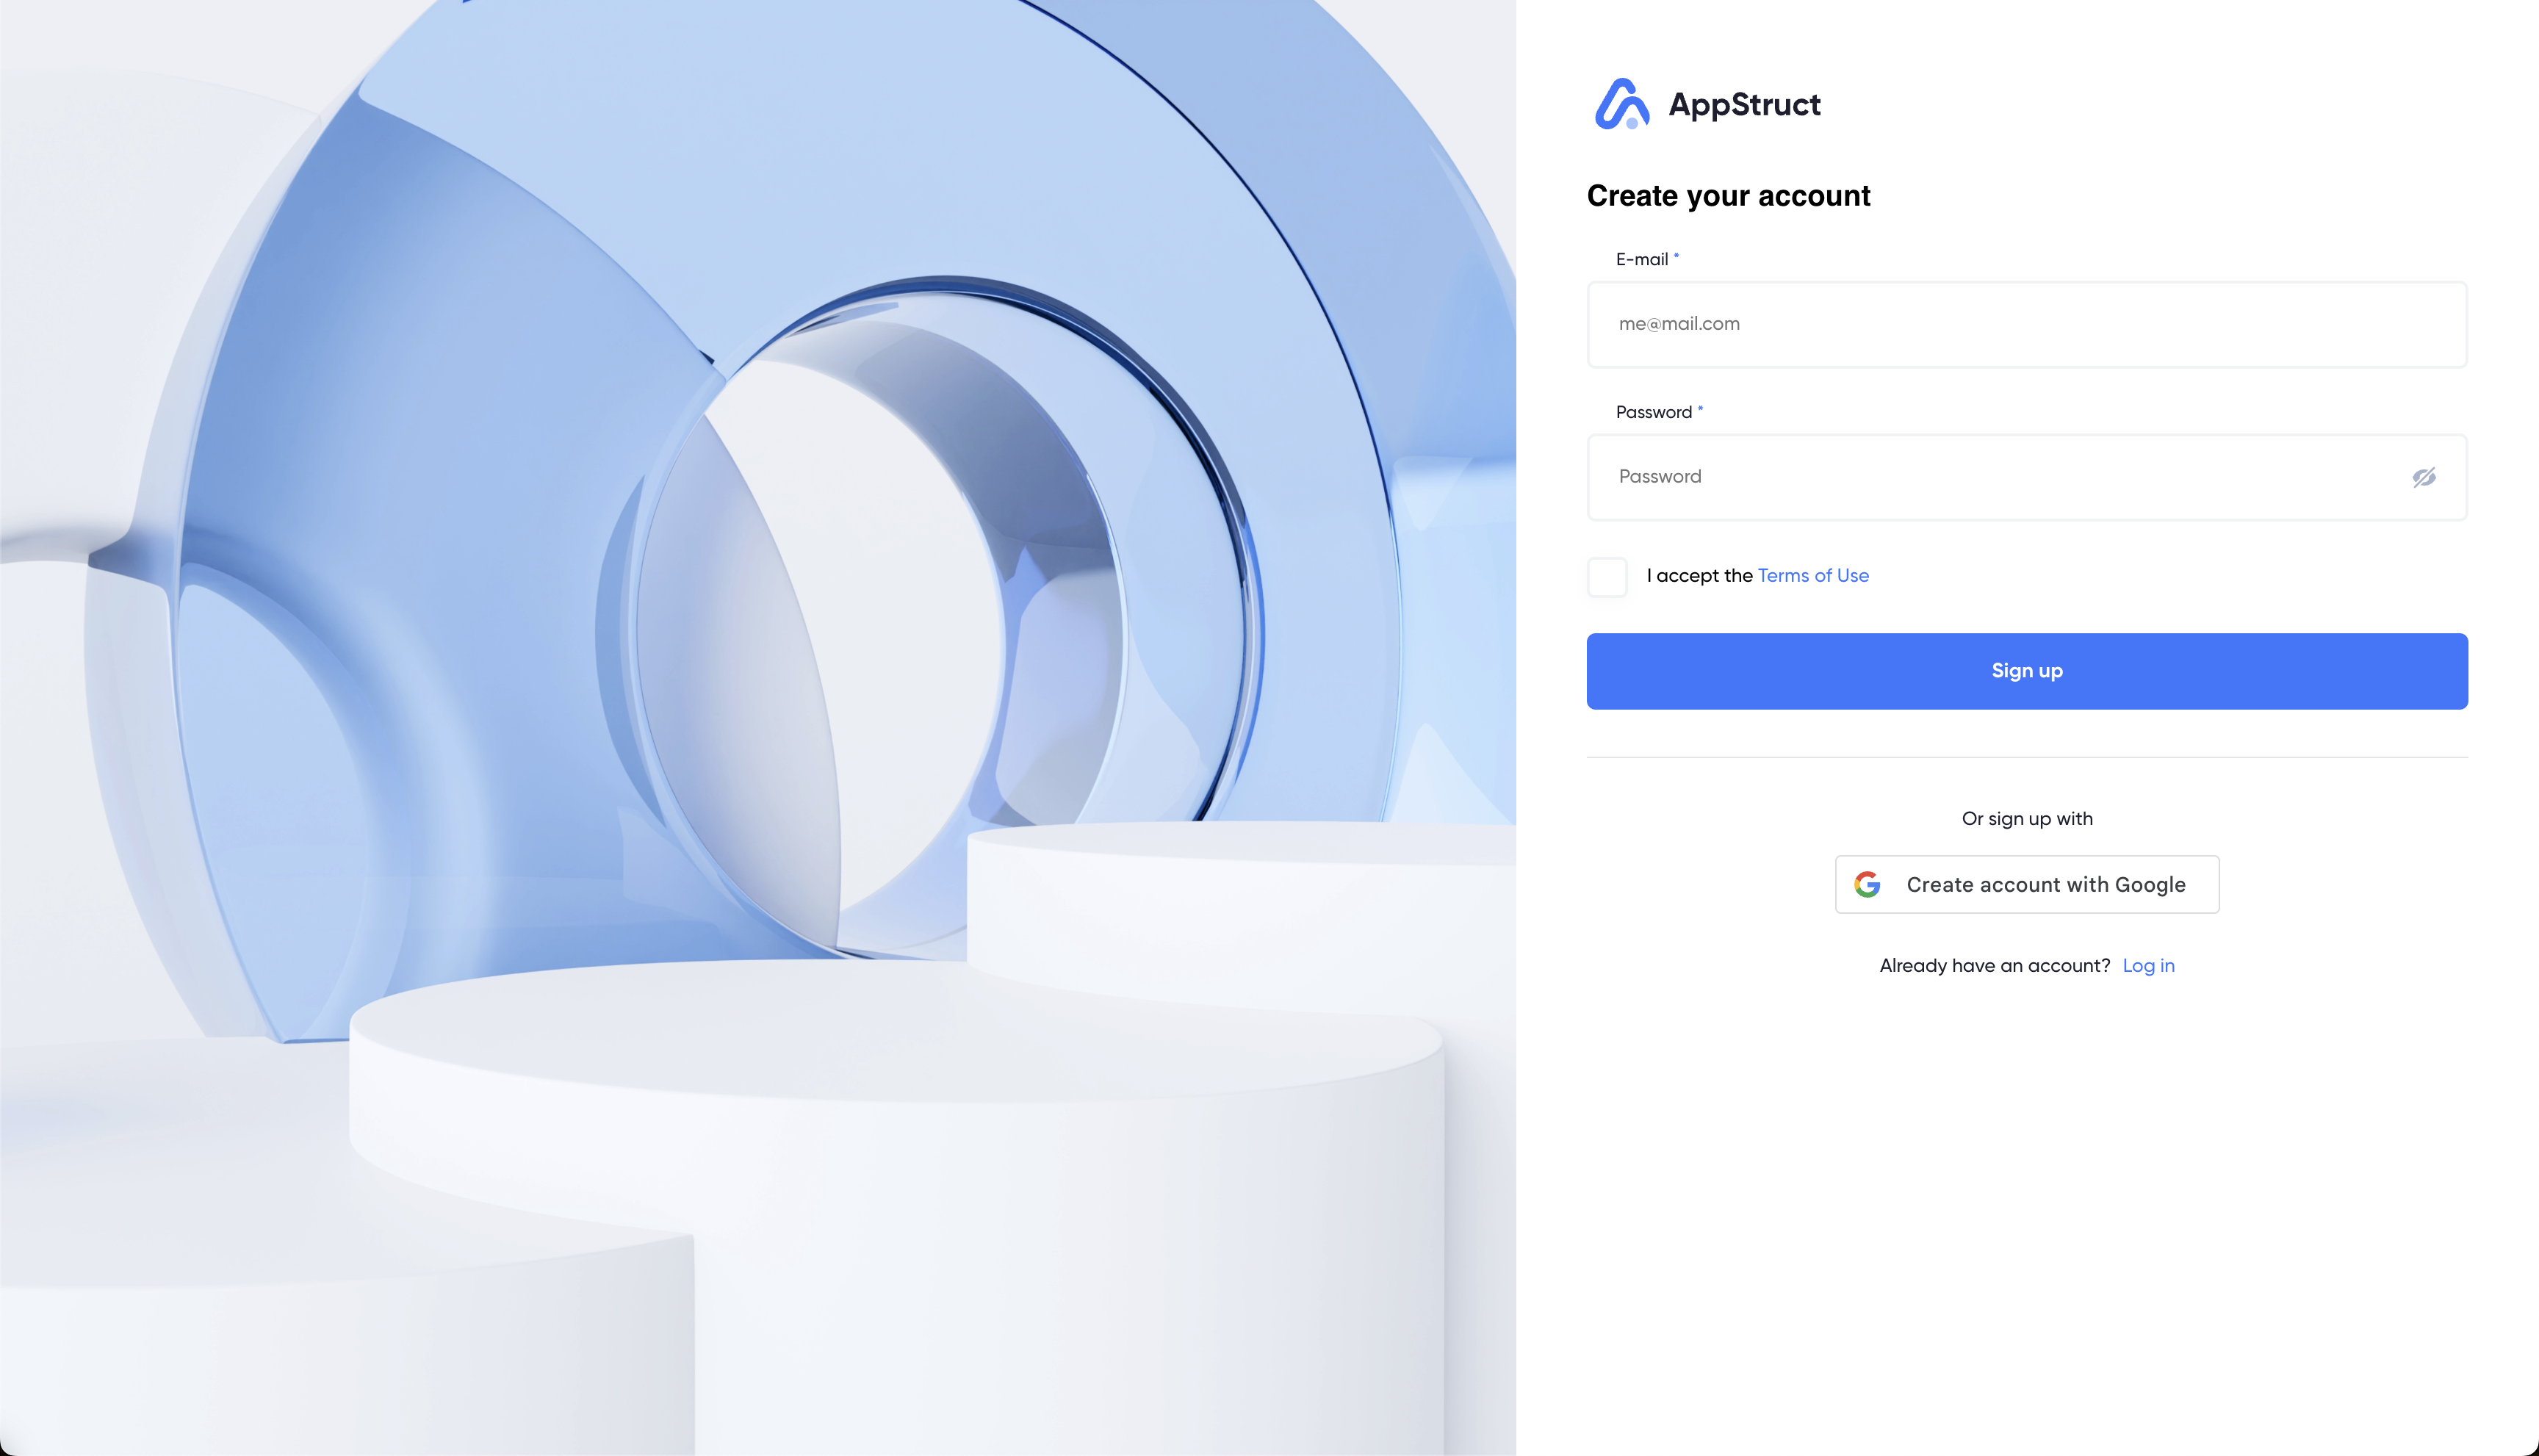
1. Create Your Account
- Visit our signup at Appstruct.ai.
- Click on the "Get Started for Free" button.
- Choose one of the following sign-up options:
- Email and Password:
- Enter your email address.
- Create a password.
- Google Account:
- Click on the "Sign in with Google" button.
- Follow the prompts to log in with your Google credentials.
- Email and Password:
- Telegram Signup (available from Telegram bot @AppStructBuilderBot):
- Click on the "Create Account with Telegram" button.
- Agree to the Terms of Service and Privacy Policy.
- Click "Sign Up" to create your account.
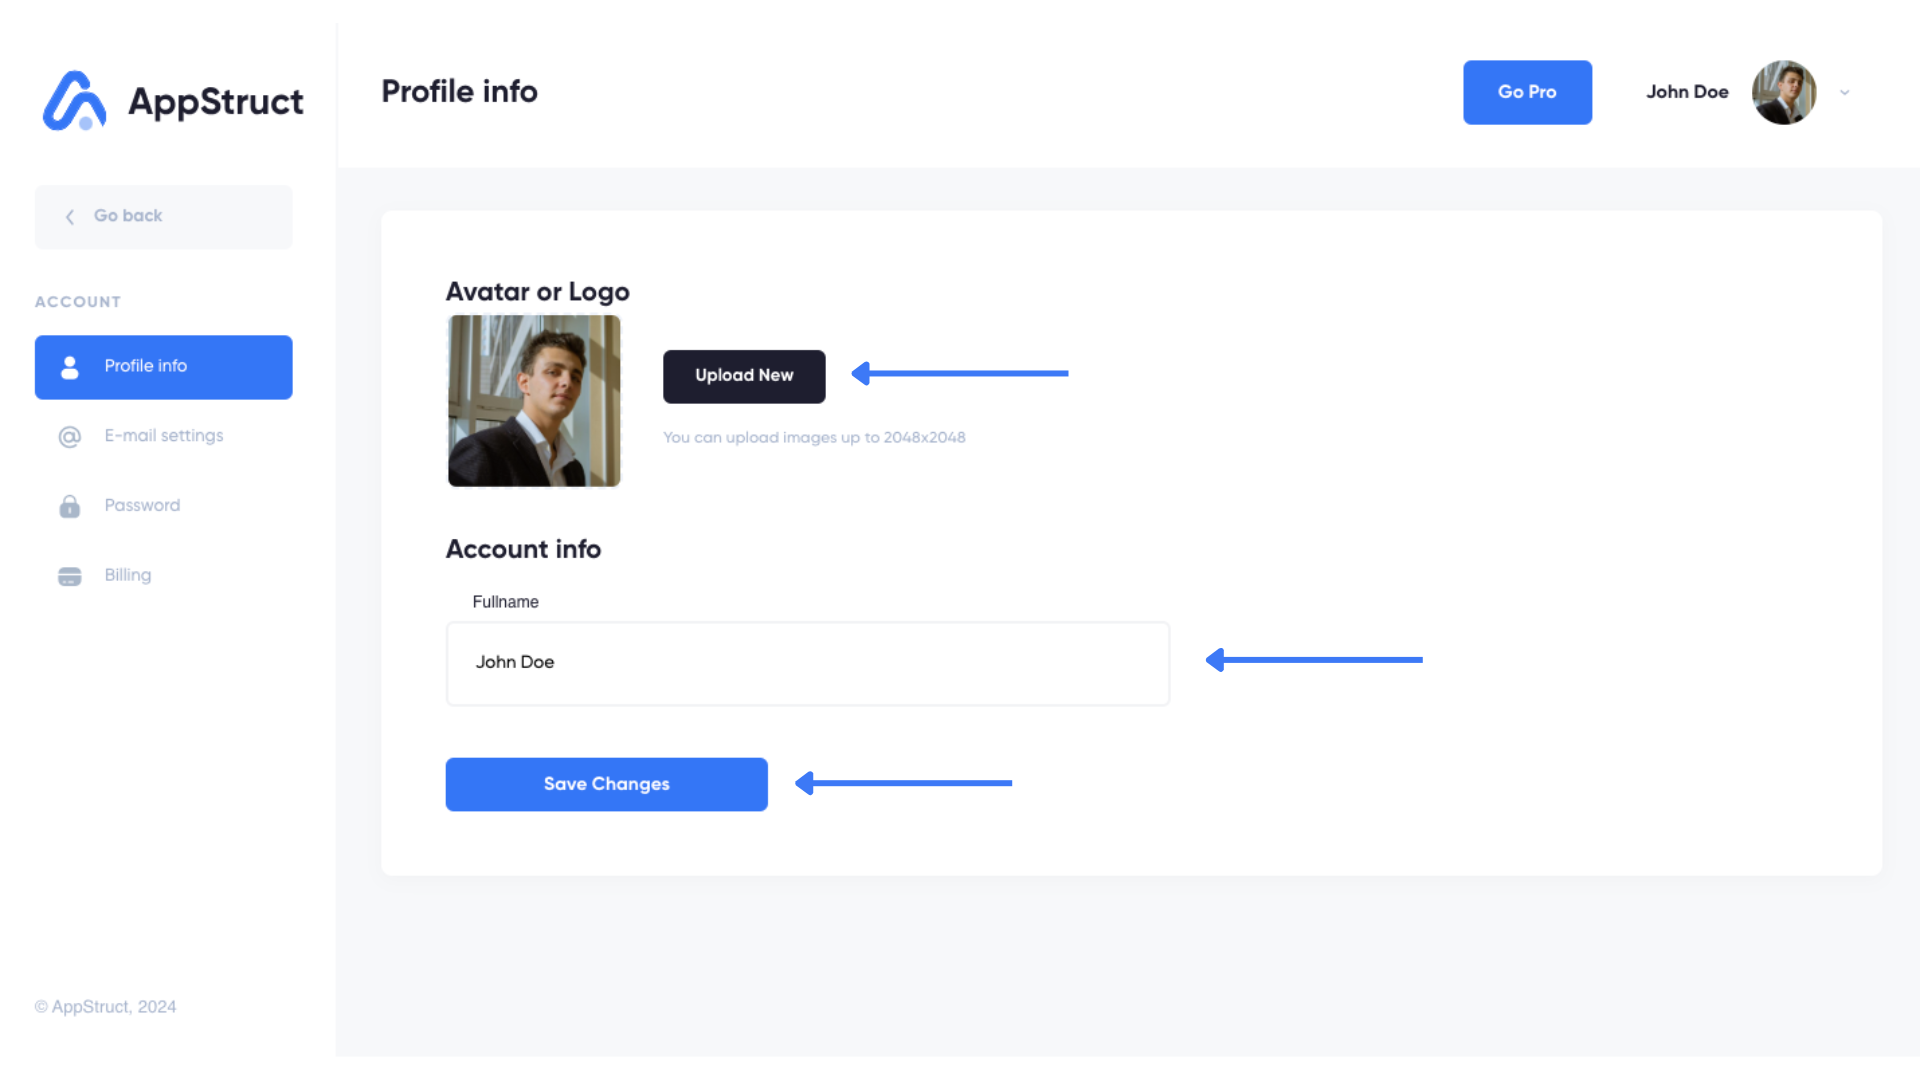
2. Update Your Profile Information
- Click on your profile icon located at the top-right corner of the screen.
- Select "Account Settings" from the dropdown menu.
- In Account Settings, navigate to the "Profile Info" tab.
- Enter your full name.
- Upload a profile picture:
- Click on "Upload Photo".
- Select an image from your device (maximum size: 2048x2048 pixels).
- Click "Save Changes" to update your profile.
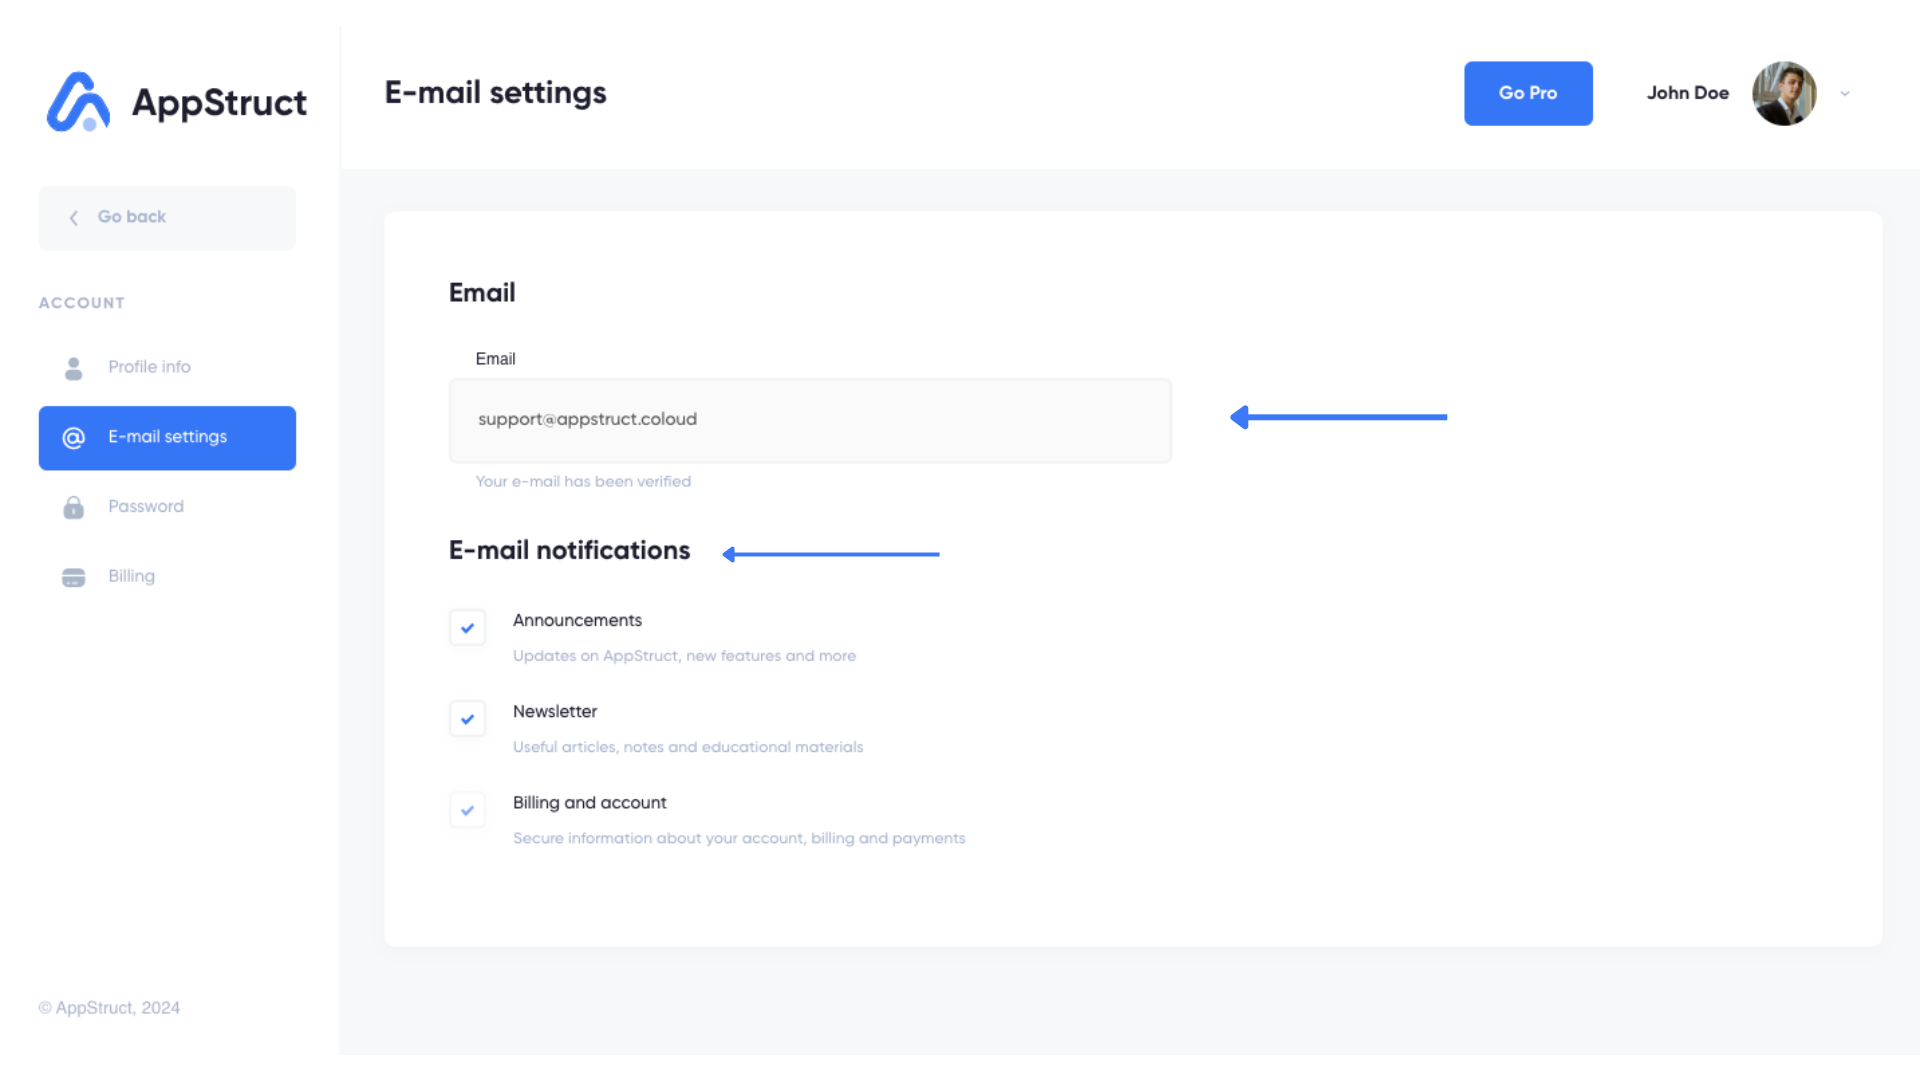
3. Configure Email Settings
Manage your communication preferences:
- Go to the "Email Settings" tab within Account Settings.
- Ensure your email address is correct.
- Choose the types of emails you wish to receive by checking the boxes:
- Announcements: Updates on AppStruct, new features, and more.
- Newsletter: Useful articles, notes, and educational materials.
- Billing and Account: Secure information about your account, billing, and payments.
- Click "Save Preferences" to apply your settings.
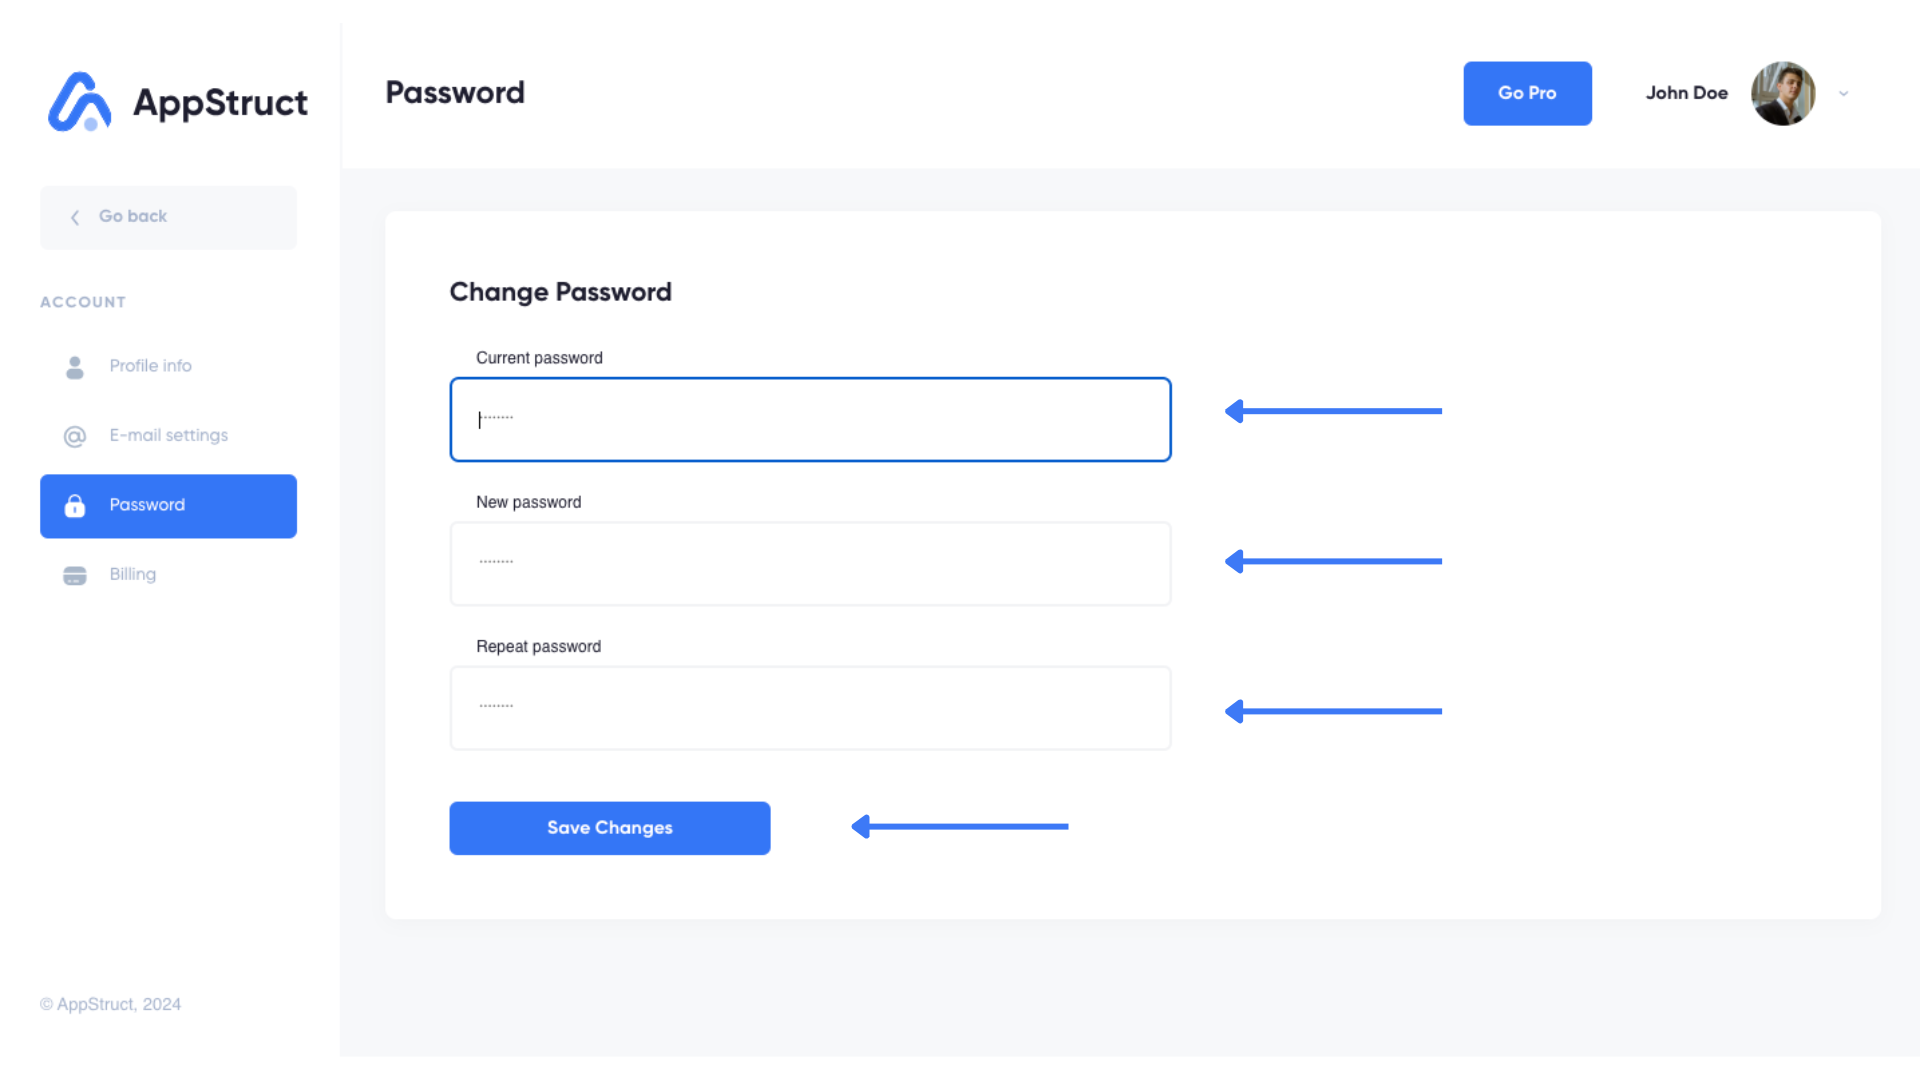
4. Change Your Password
- Select the "Change Password" tab in Account Settings.
- Enter your current password.
- Enter a new password and confirm it.
- Click "Update Password" to save the changes.
If you've forgotten your password and signed up by Email:
- On the login page, click "Forgot Password?".
- Enter your email address associated with your AppStruct account.
- Click "Send Reset Link".
- Check your email for a message from AppStruct and follow the reset link provided.
- Create a new password and confirm it.
5. Manage Your Billing
Access your billing information and manage your subscription:
- In Account Settings, click on the "Billing" tab.
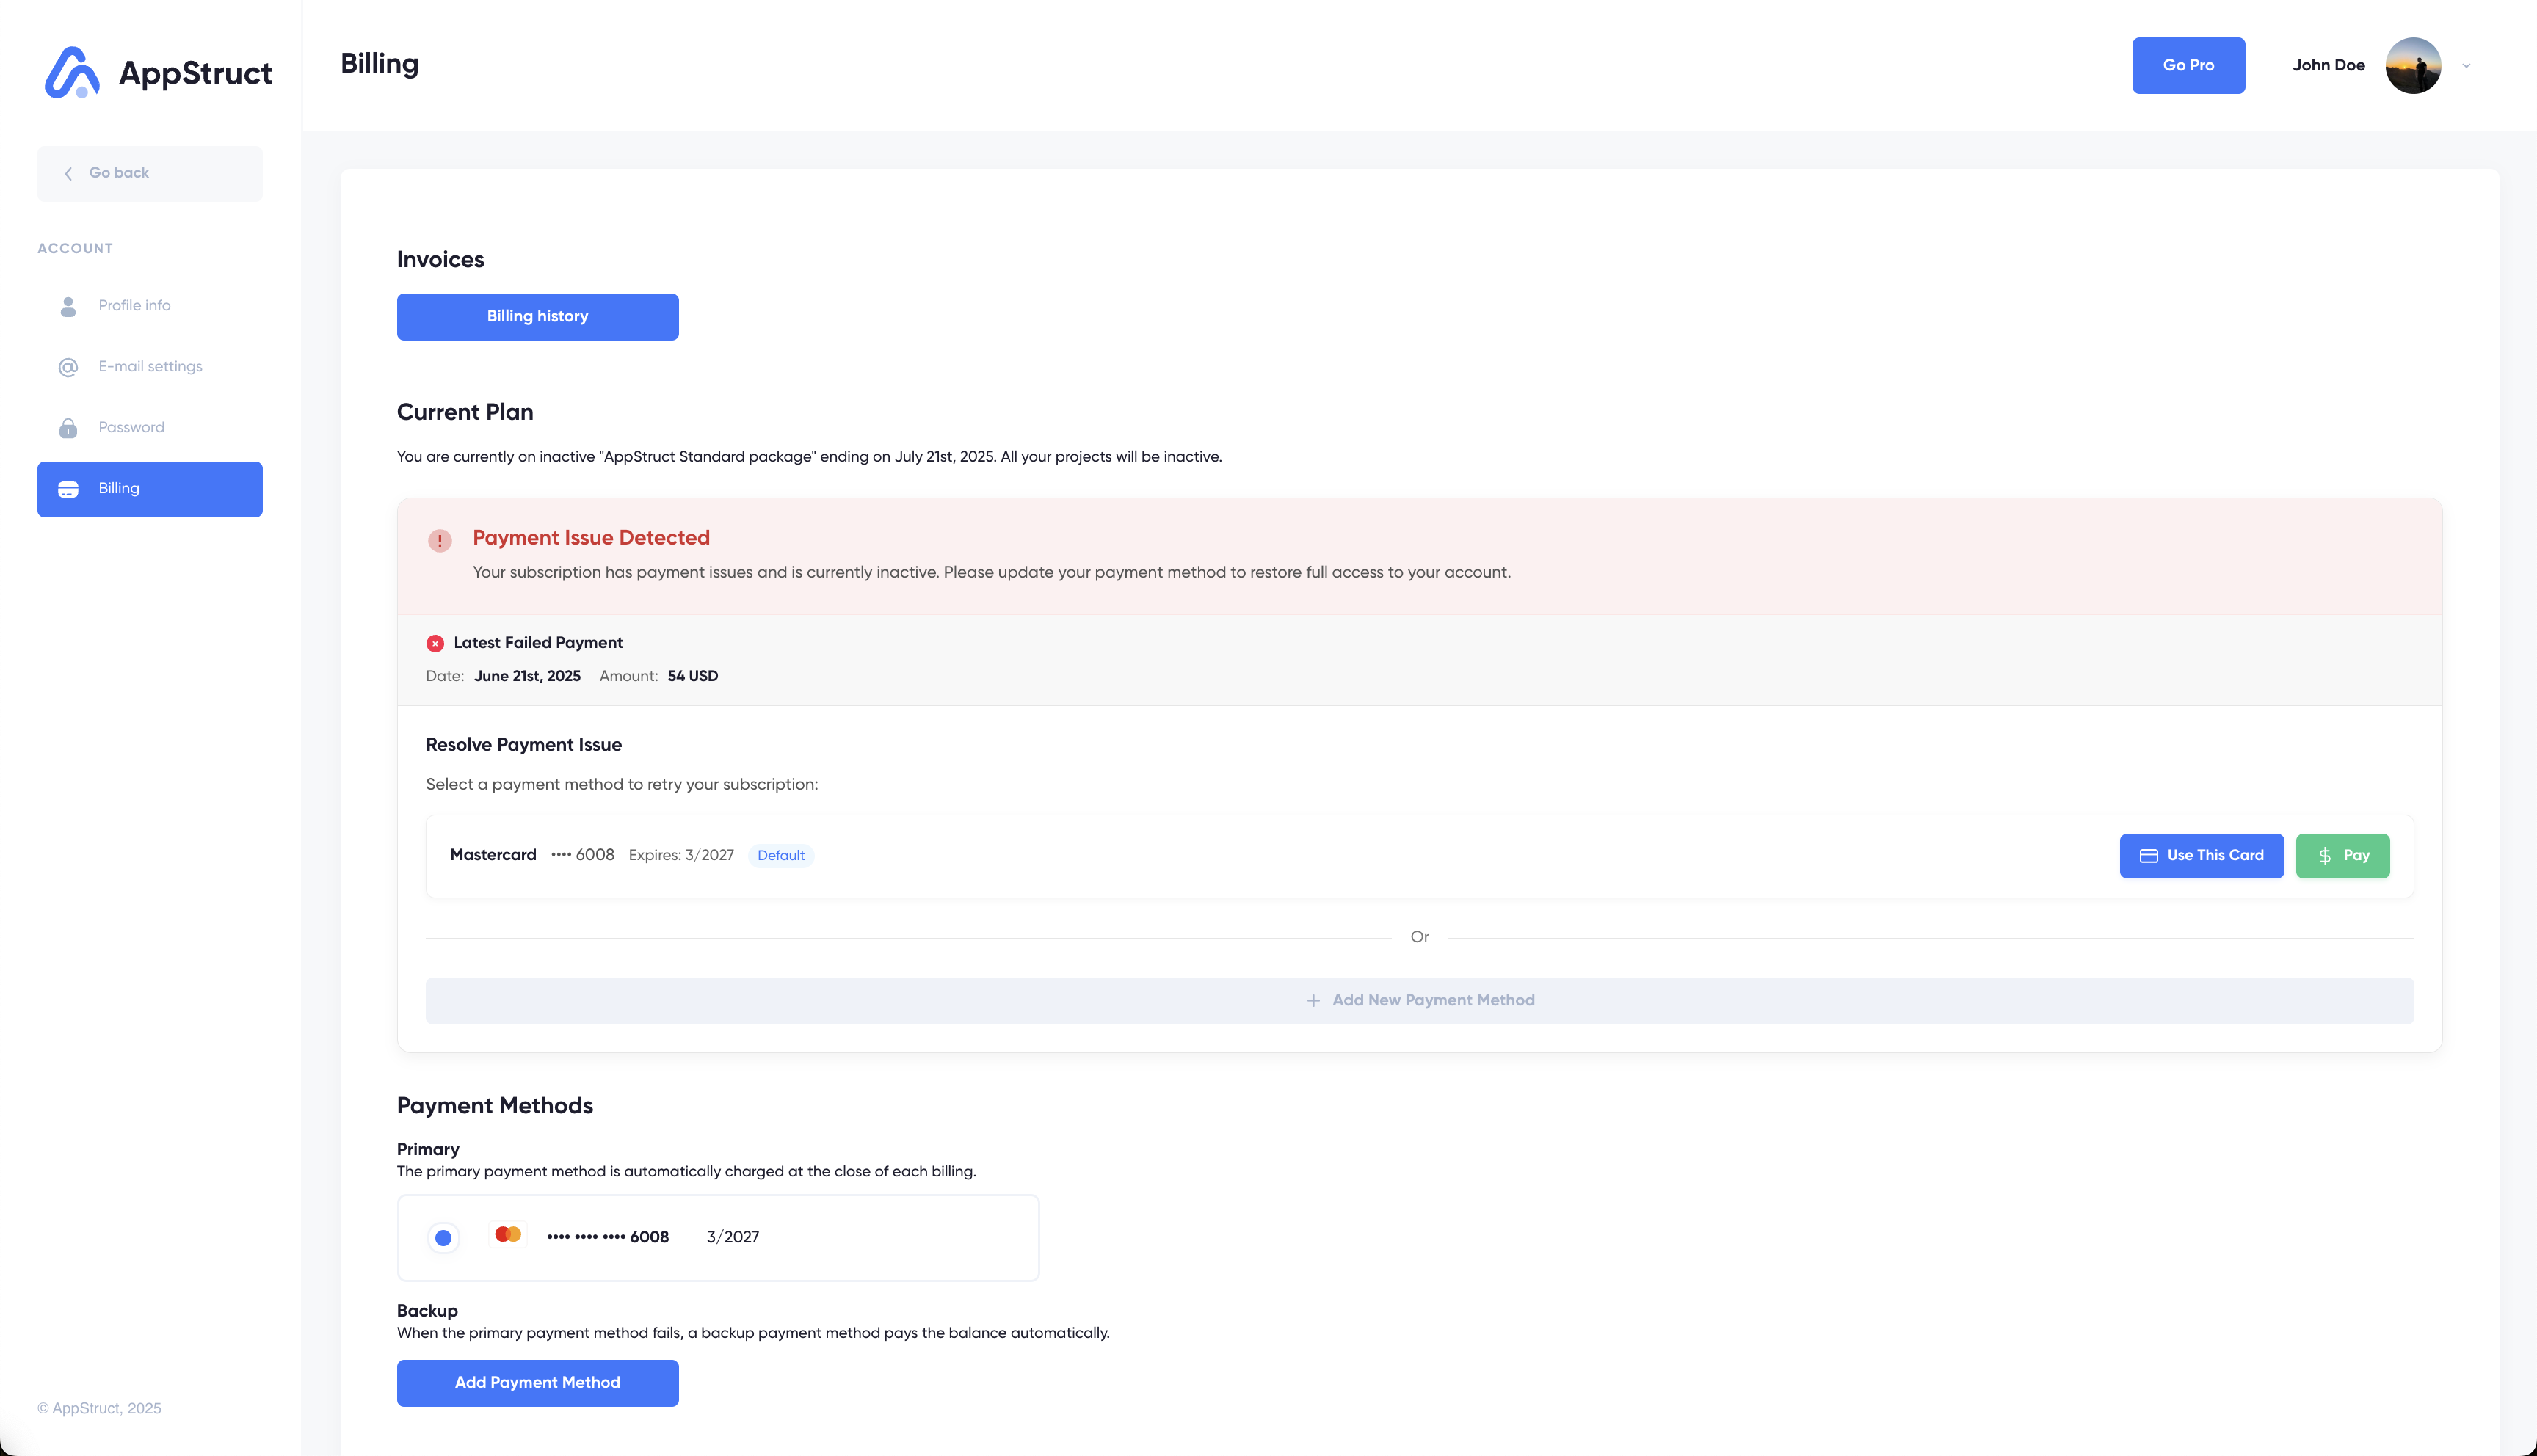
View Current Plan
Your current subscription plan and status are displayed at the top:
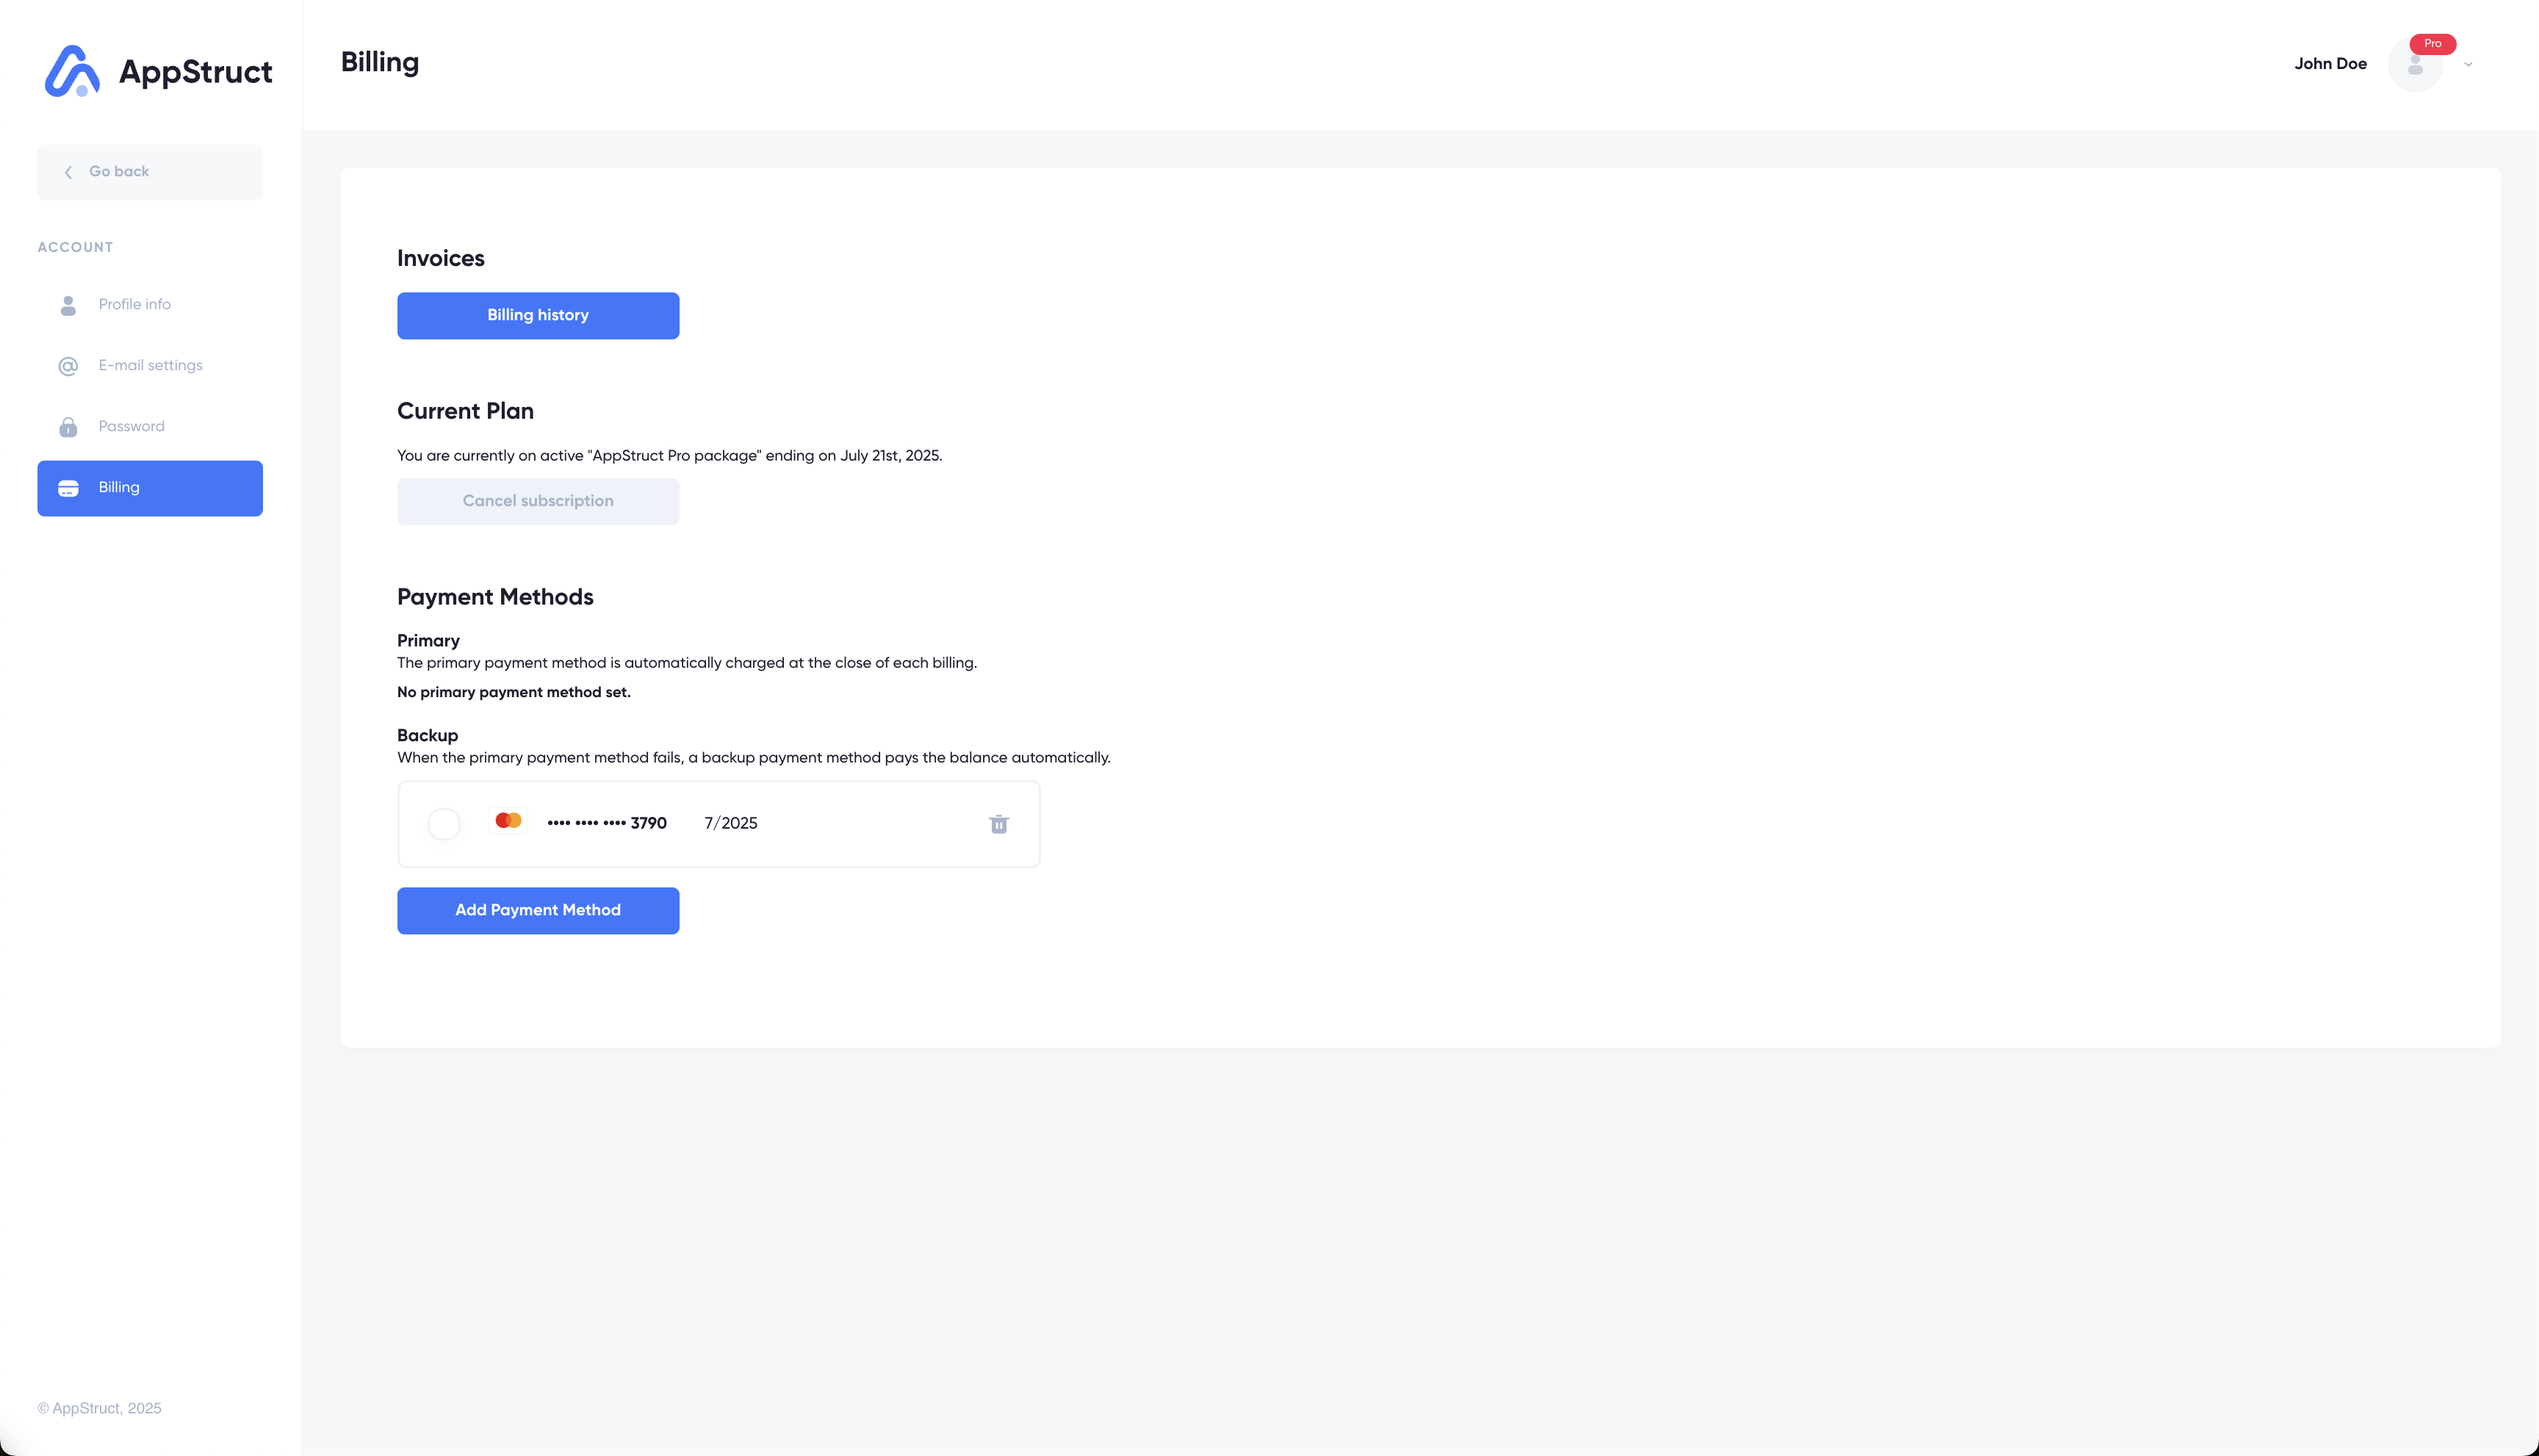
- Active subscription show your plan name and next billing date
- Inactive subscription indicate payment issues that need attention
Manage Payment Methods
Keep your payment information up to date:
-
Add New Payment Method:
- Click "Add Payment Method"
- Enter your credit/debit card details
- Your card will be securely saved for future payments
-
Set Default Payment Method:
- Existing cards are listed with their last 4 digits
- Click "Use This Card" to set a different card as default
Handle Payment Issues
If your subscription has payment problems:
- A warning message will appear at the top
- Click "Use This Card" next to any saved payment method to retry
- Or click "Pay" to immediately process a failed payment
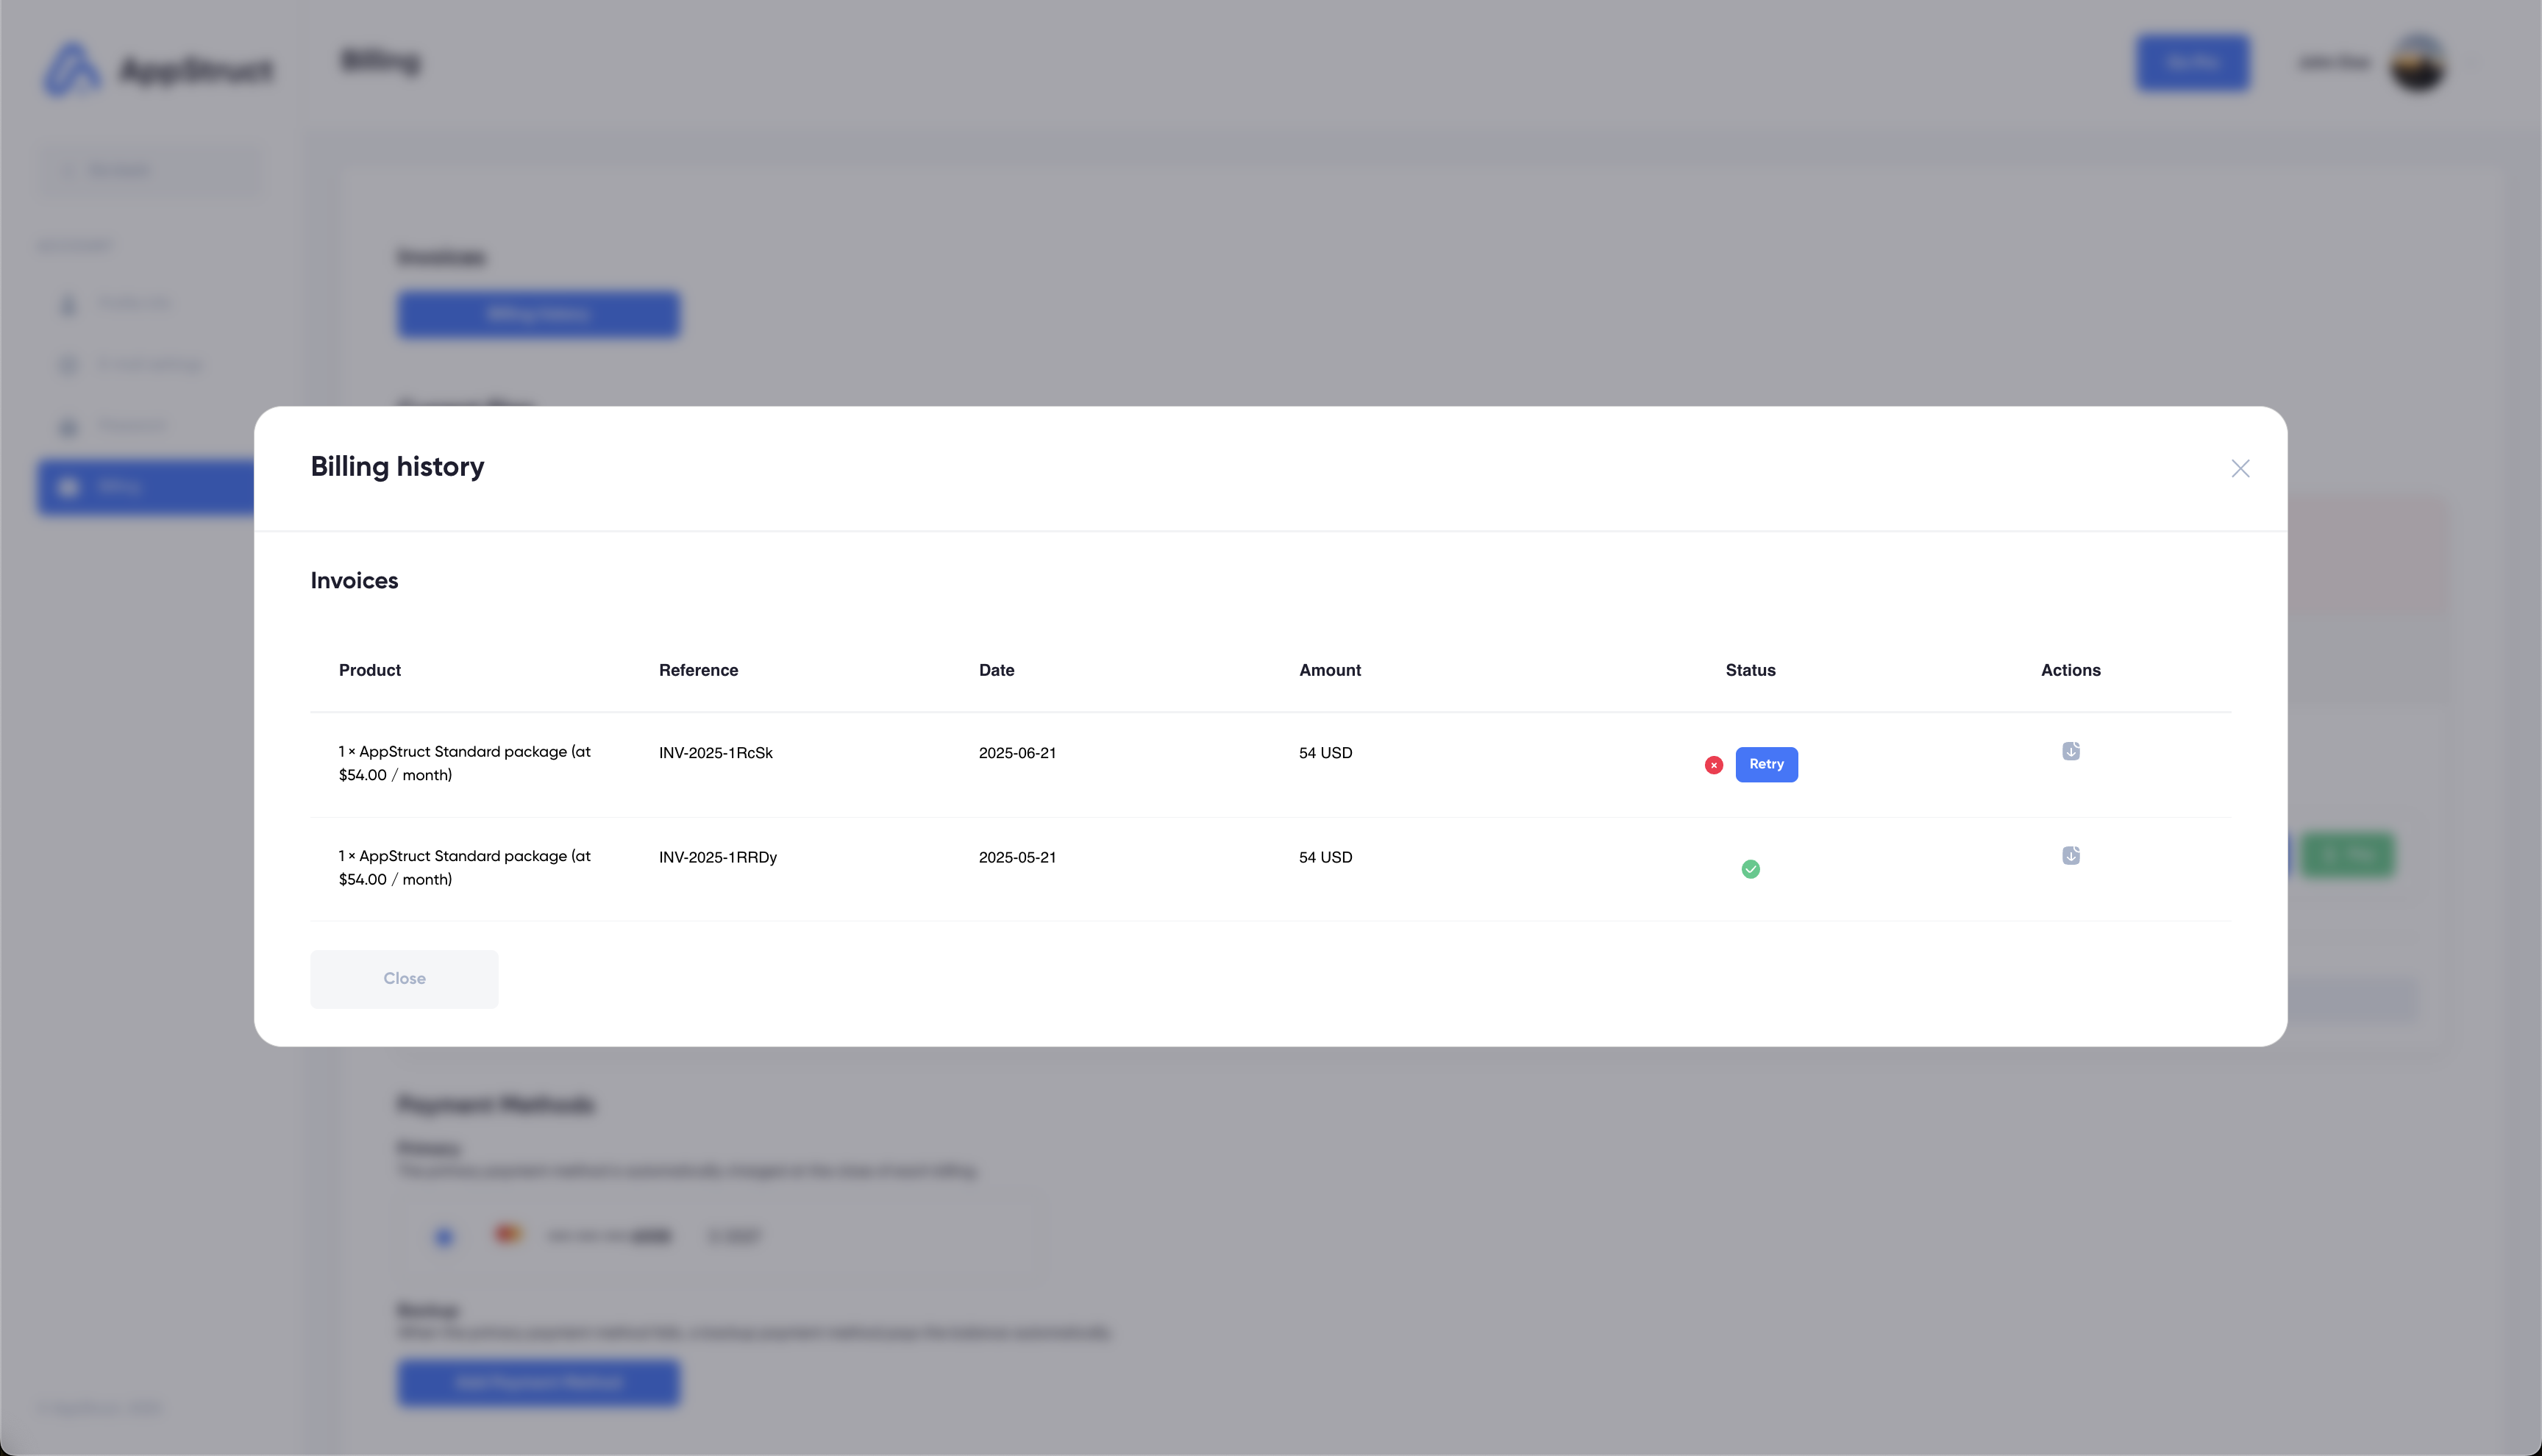
View Billing History
- Click "Billing History" to see all your invoices
- Download invoices by clicking the download icon
- Retry failed payments using the "Retry" button if needed
Manage Subscription
- Cancel Subscription: Click "Cancel subscription" and provide a cancellation reason
- Resume Subscription: If cancelled, click "Resume Subscription" to reactivate
Need Assistance?
If you encounter any challenges or require further guidance while building your app, please refer to the Documentation or, contact our support team at [email protected].