About us

Hi everyone, my name is Boris, I am the CMO of AppStruct — a no-code platform for creating web and mobile applications, as well as Telegram miniapps. In this article I will share with you our story — I will tell you why we decided to create our own platform despite the fact that there are already big players on the market, and how we try to be better, more convenient and easier for users.
We believe that everyone should be able to create cool apps quickly and without unnecessary fiddling.
Bubble is a cool thing, but it's mostly focused on websites, not mobile apps. You can build almost anything there, but you need to spend a lot of time to learn how to do it well. And only then you can create really cool products.
Flutterflow is a low-code platform customized for mobile applications, which until recently was developed with the support of Google. Indeed, you can build a lot of cool apps there, but to properly understand all the nuances, you need to spend about a year. However, if you cannot realize what you have conceived with the built-in tools inside the platform (and there are a lot of such cases), you will have to add code inside the platform. And no one cares that it is not quite no-code anymore.
Glide is a super simple and convenient platform with a backend in the form of tables on steroids. The front end is almost not customizable, but you can build a web on your own, test the idea and then safely move to a full-fledged native product on another platform.
Adalo is something between Flutterflow and Glide. Here you can build more complex applications than in Glide, but still not as functional as in Flutterflow.
AppMaster is a very cool platform for business, especially if you need a powerful backend. You can implement a lot of cool things, but the subscription price is very high and the frontend is not very functional.
Of course, there are still other platforms like Softr, Bravo, Thunkable and others. But when native functionality is needed, developers look at Bubble and Flutterflow first.

The main pain
It's simple: it's too long and too complicated. The threshold of entry to many of these tools is really very high. And what does the average person expect when they first enter the world of no-code? Usually it sounds like this: “I wish I could learn some normal tools so that I could become a freelancer in a couple of months and build simple applications from home”.
But in reality? It turned out that everything is not so rosy: long (and often expensive) courses, complicated basics of mobile development, language barrier, overestimation of one's own abilities and a lot of other things that people didn't even realize.
What about professional developers?
We talked to many developers and realized that everyone had their own pains - depending on the tool, the task and their experience. But there was one common problem that seemed to run through all the conversations: development speed. No matter how much of a pro you are, development still takes a lot of time. Sometimes it's due to the complexity of the product or the client's wishes, but most often it's the routine assembly of front-end and logic, which takes a lot of effort.
This is exactly the point we decided to focus on. Our goal is to find the sweet spot between ease of use and functionality. We wanted to create a tool that would allow us to quickly build mid-level applications (like shipping, shopping, tutorials, and so on) without requiring months of study. To achieve this, we had to fundamentally rethink many aspects.
Methodology of product creation
When we started creating our platform, we immediately decided on the main rule: everything should be as simple as possible. We wanted even a person who had previously worked only in Figma to be able to open our platform and quickly understand everything.
At the same time, we realized that simplification does not mean cutting off everything important. That's why we tried to keep the maximum of key functions that are necessary for work, but to make sure that they do not overload the interface and do not scare away newcomers.
We kept the basic practices from other popular tools, especially from Figma, which many people already know and understand. This gave us a foundation for the interface and basic functions.
The details, of course, are many, and I won't tell you about all of them. I'd rather dwell on those things that really distinguish us from others and make our platform special:
Drag & Drop
I'll tell you right away - maybe some developers are about to have a fit, but we deliberately decided to abandon containers and make absolute positioning. Why? It's very simple: imagine a beginner who has used a photo editor or PowerPoint before. It is very difficult for him to understand how containers work, how they interact with each other, and what to do with them in general. We wanted a person to be able to simply take an element, drag it onto the screen, twist it, pull a corner and stretch it the way he or she wants. This is how the simplest and easiest tools work - and this is where everyone who takes their first steps in development usually starts. Why is it important? It is very important for beginners not to stumble at the start over a bunch of settings and fiddles, but just try to build something, even if it is crooked and askew, add a couple of actions and understand how everything works. Eventually, a person will get the hang of it and start customizing everything down to the pixel, setting the exact size and location of components. In addition, this solution is a great help for professionals, if you need to quickly sketch a prototype in front of a customer and immediately show how everything will look and work.
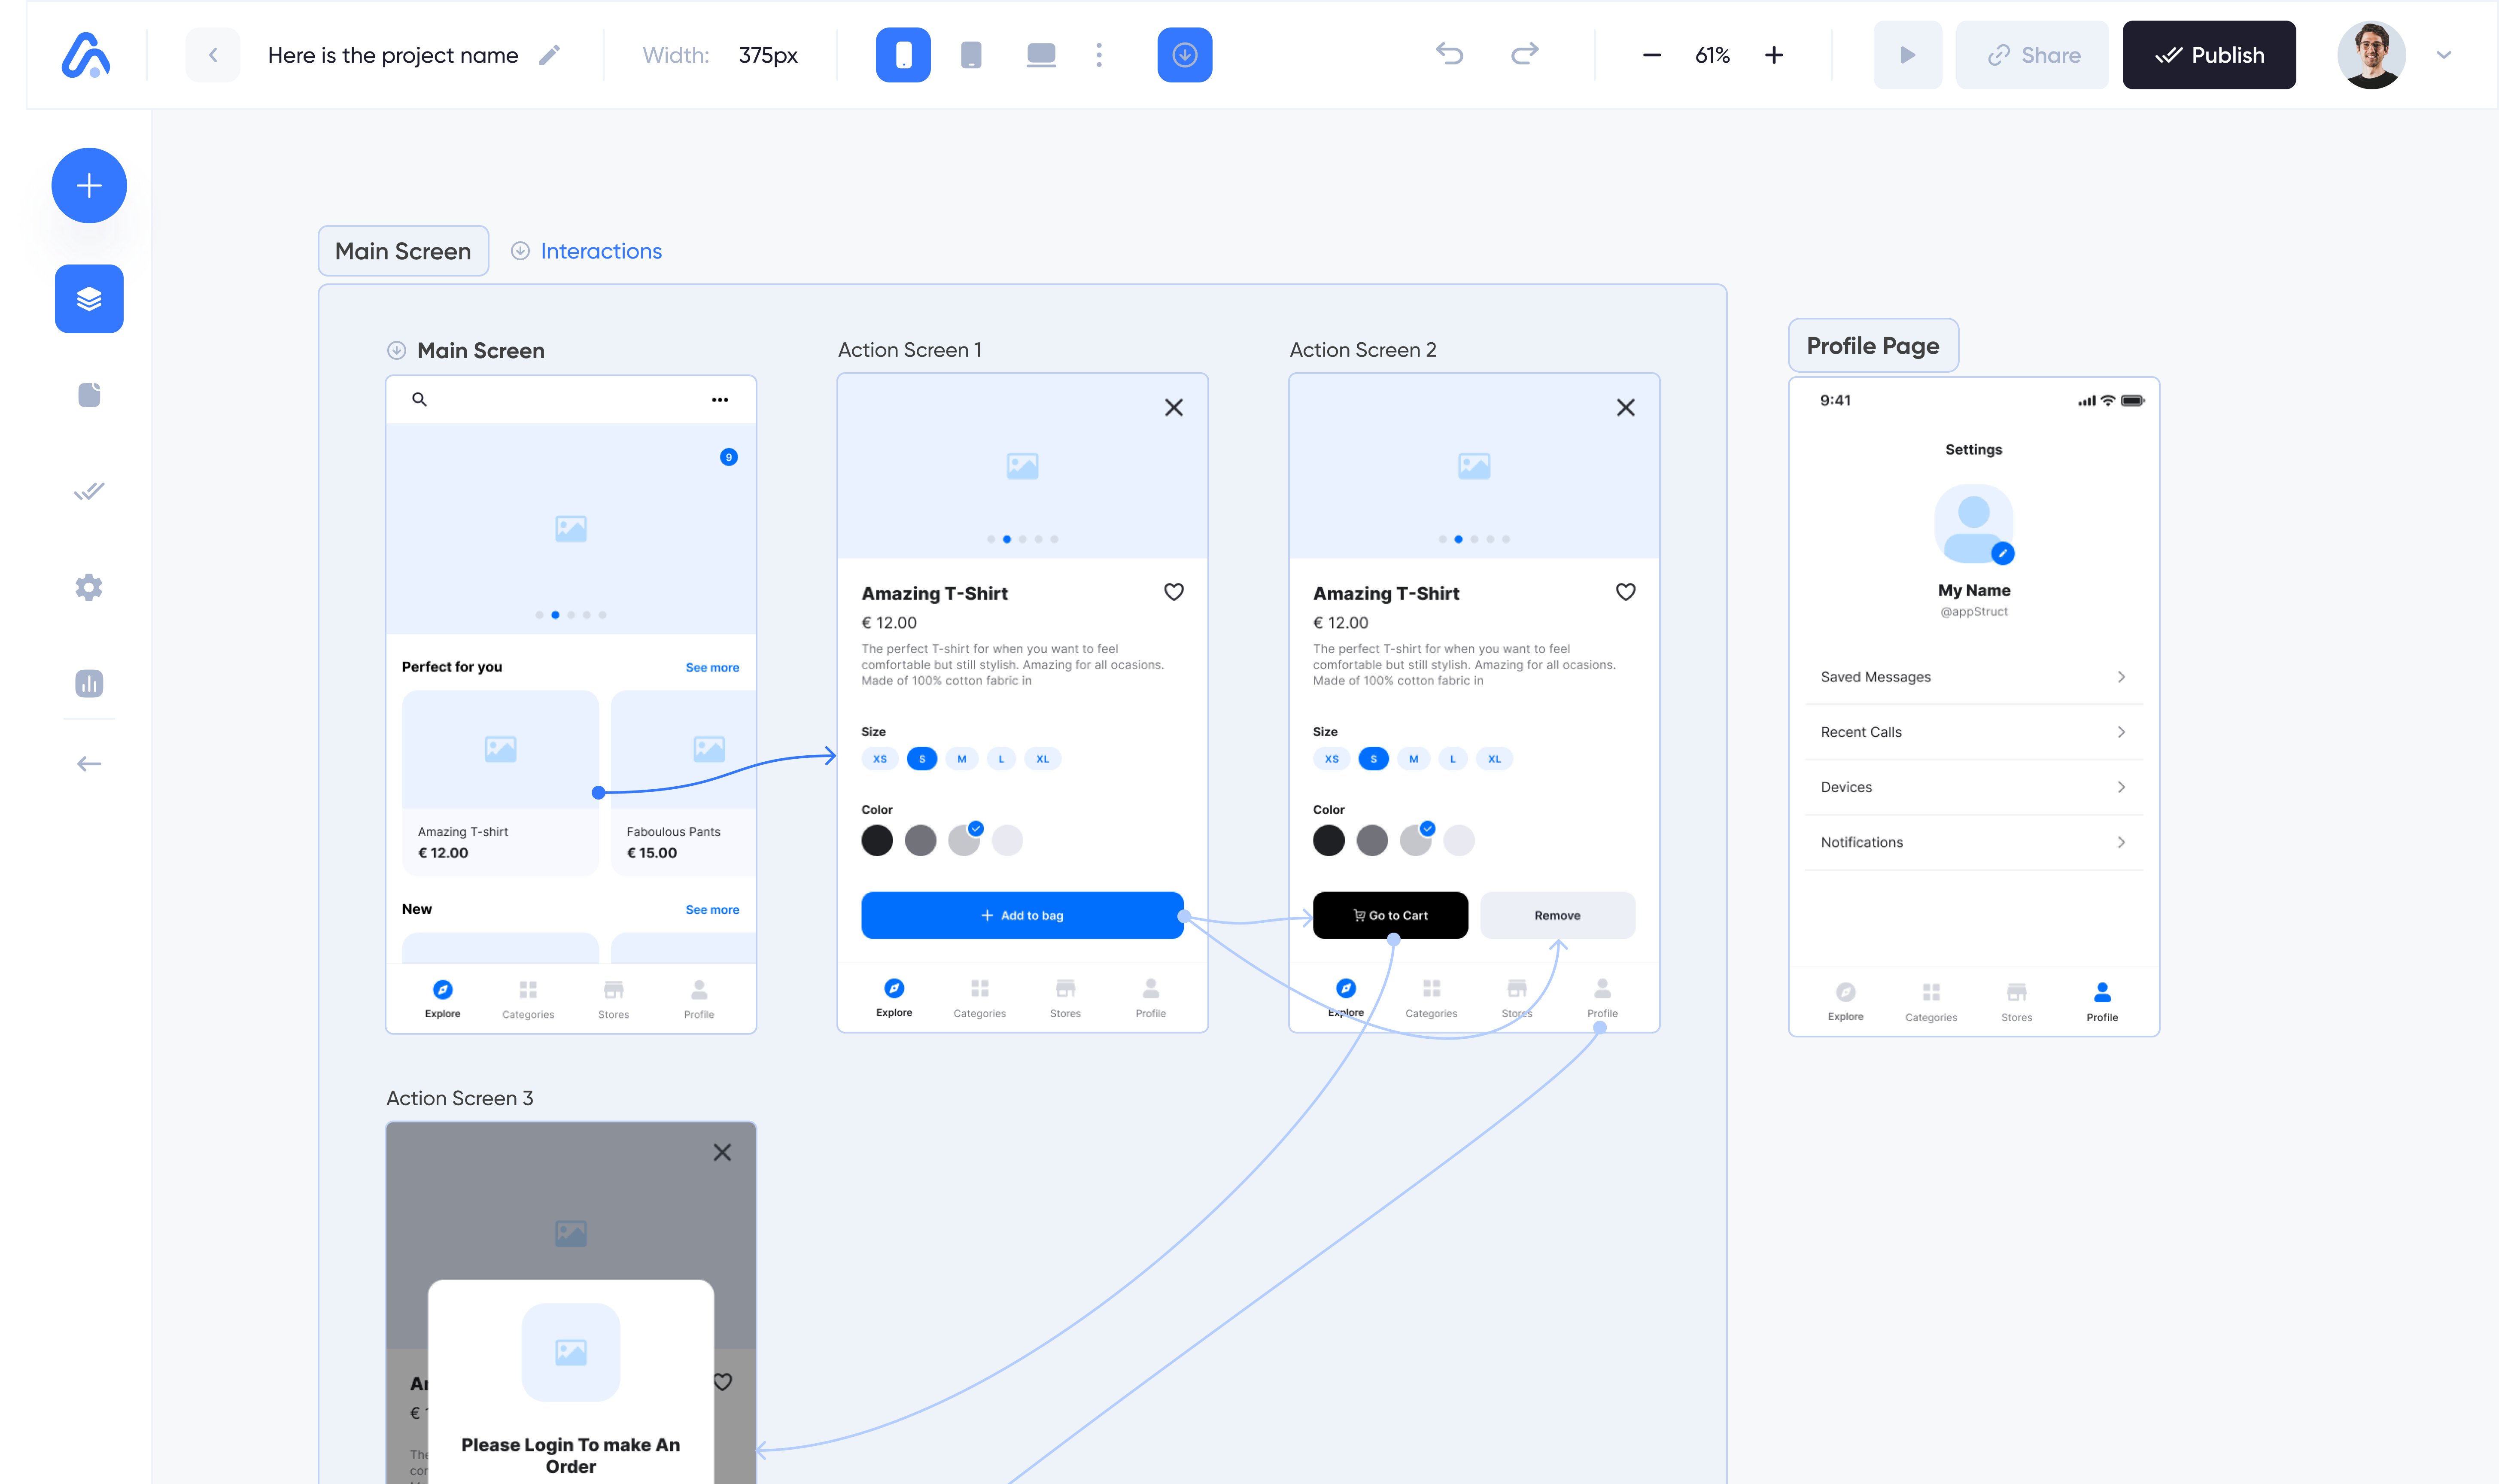
Screen layout
Here again, we decided to go the “beauty in simplicity” route. We looked at how it's done in Flutterflow and realized that the idea of one screen that is constantly open creates a lot of unnecessary movements: you run here and there, check where the action is coming from and where it's going, and in the end, when the project is almost ready, you suddenly realize that you forgot something and go back to the initial screens to double-check everything. Then we looked at Adalo. There all the screens are in one pile, you can move them as you like, and they are connected by threads from the buttons. This is certainly more convenient than in Flutterflow, but if you have more than 20 screens, you get chaos - a tangle of threads that you can get tangled up in. So we thought: what if we made it as simple as possible? We placed all the screens on one big canvas - one after another. You can switch between them with one click on the illuminated area next to the screen. All screen settings are located in a special section of the menu, and there you can change their places by simple drag-and-drop. Why like this? Because it's clear and convenient: you can see all the screens at once, which one comes after which one, and there's no confusion, because they are strictly arranged horizontally, without the possibility of accidentally dragging one somewhere up or in the corner.
Basic settings
Here we decided not to reinvent the wheel. We have two side bars: one for technical settings, the other for customization. The left bar is fully focused on “technical” - customizing components, adapting and adding actions. The right bar is for creativity: everything related to layout, styles, sizes, etc.
Backend
We looked at what applications are most often built and found out that they are usually not super-functional applications, but normal, life-like projects: stores, deliveries, learning platforms. So we decided to make the backend in the form of tables on steroids (yes, yes, almost like Glide and Airtable) to keep things simple and clear. You want a store? Please: load a catalog, display products in cards, add necessary links and functions. Everything is as fast, convenient and cheap as possible - both in terms of development and technical side. For those who want to dig deeper, we have integration with Supabase.

Preview
Here's another pain that we understand perfectly well - it's the preview. In our case, previews can be done right on the working canvas. For example, if you've added a button transition, when you click on it, you'll immediately see yourself being thrown to the right screen. You can show a pop-up notification, toast and more - all of this you can test the functionality without doing anything extra. We plan to add a full-fledged emulator for more advanced testing in the near future.
Cross-platform
We thought: why not make it possible to build one app and immediately publish it as a web app, as a native mobile app, as a desktop app, and even as a Telegram mini-app? You can't do that in most other builders: for example, if you build an app in Flutterflow, you have to go to other platforms and rebuild everything again to get a full-fledged web, desktop or Telegram app. Why is this important? Because it saves a lot of time and nerves. You don't waste energy on rebuilding and jumping between platforms, but work on a product that really works everywhere.

Where's the speed?
All the features we have described above, of course, already make development easier and faster. But this was not enough for us - we wanted to really change the rules of the game and take the process to a whole new level.
To do that, we added a few more features that will help you save not just minutes, but whole days. 🚀
Browser extension
We all know how it usually happens: a customer comes to you with an idea to build a mobile application or a telegram miniapp, and in his head he already has a reference or an example in the person of his competitor. But until he explains to you what he wants, in what colors and sizes - it takes a lot of time. And if he doesn't like something? All over again: a new layout, approvals, revisions....
We decided to simplify this headache. That's how we got our browser extension. Now you can go to your competitor's site, right-click to copy the necessary components (with all the styles and content), and then paste them directly into our designer - in one click!
This means that you can build the initial mockup right in front of the customer, literally at a meeting, and immediately show them how their application will look like. This saves 1-2 days just on approvals and edits - while one sends the mockup and the other looks at it.
And it also helps to close a client's purchase faster: he will have no time to change his mind - he will see at once how cool his future project will turn out to be.
And that's not all: in the future, we want to make it possible to copy not only individual components, but entire pages.
-a0521b41a41366a67df9ecf03663aee7.png)
Component Recognition - when AI really helps
It happens: a customer brings you a layout in Figma - and it's great, but it's big and complicated. So instead of spending hours rebuilding everything manually, you can simply transfer this layout to our designer. And then artificial intelligence will do everything for you: it will recognize all the components, colors, sizes and carefully place them on the screen exactly as they were in the original.
This means that you won't have to waste time on routine front-end assembly - you can go straight to editing and customization.
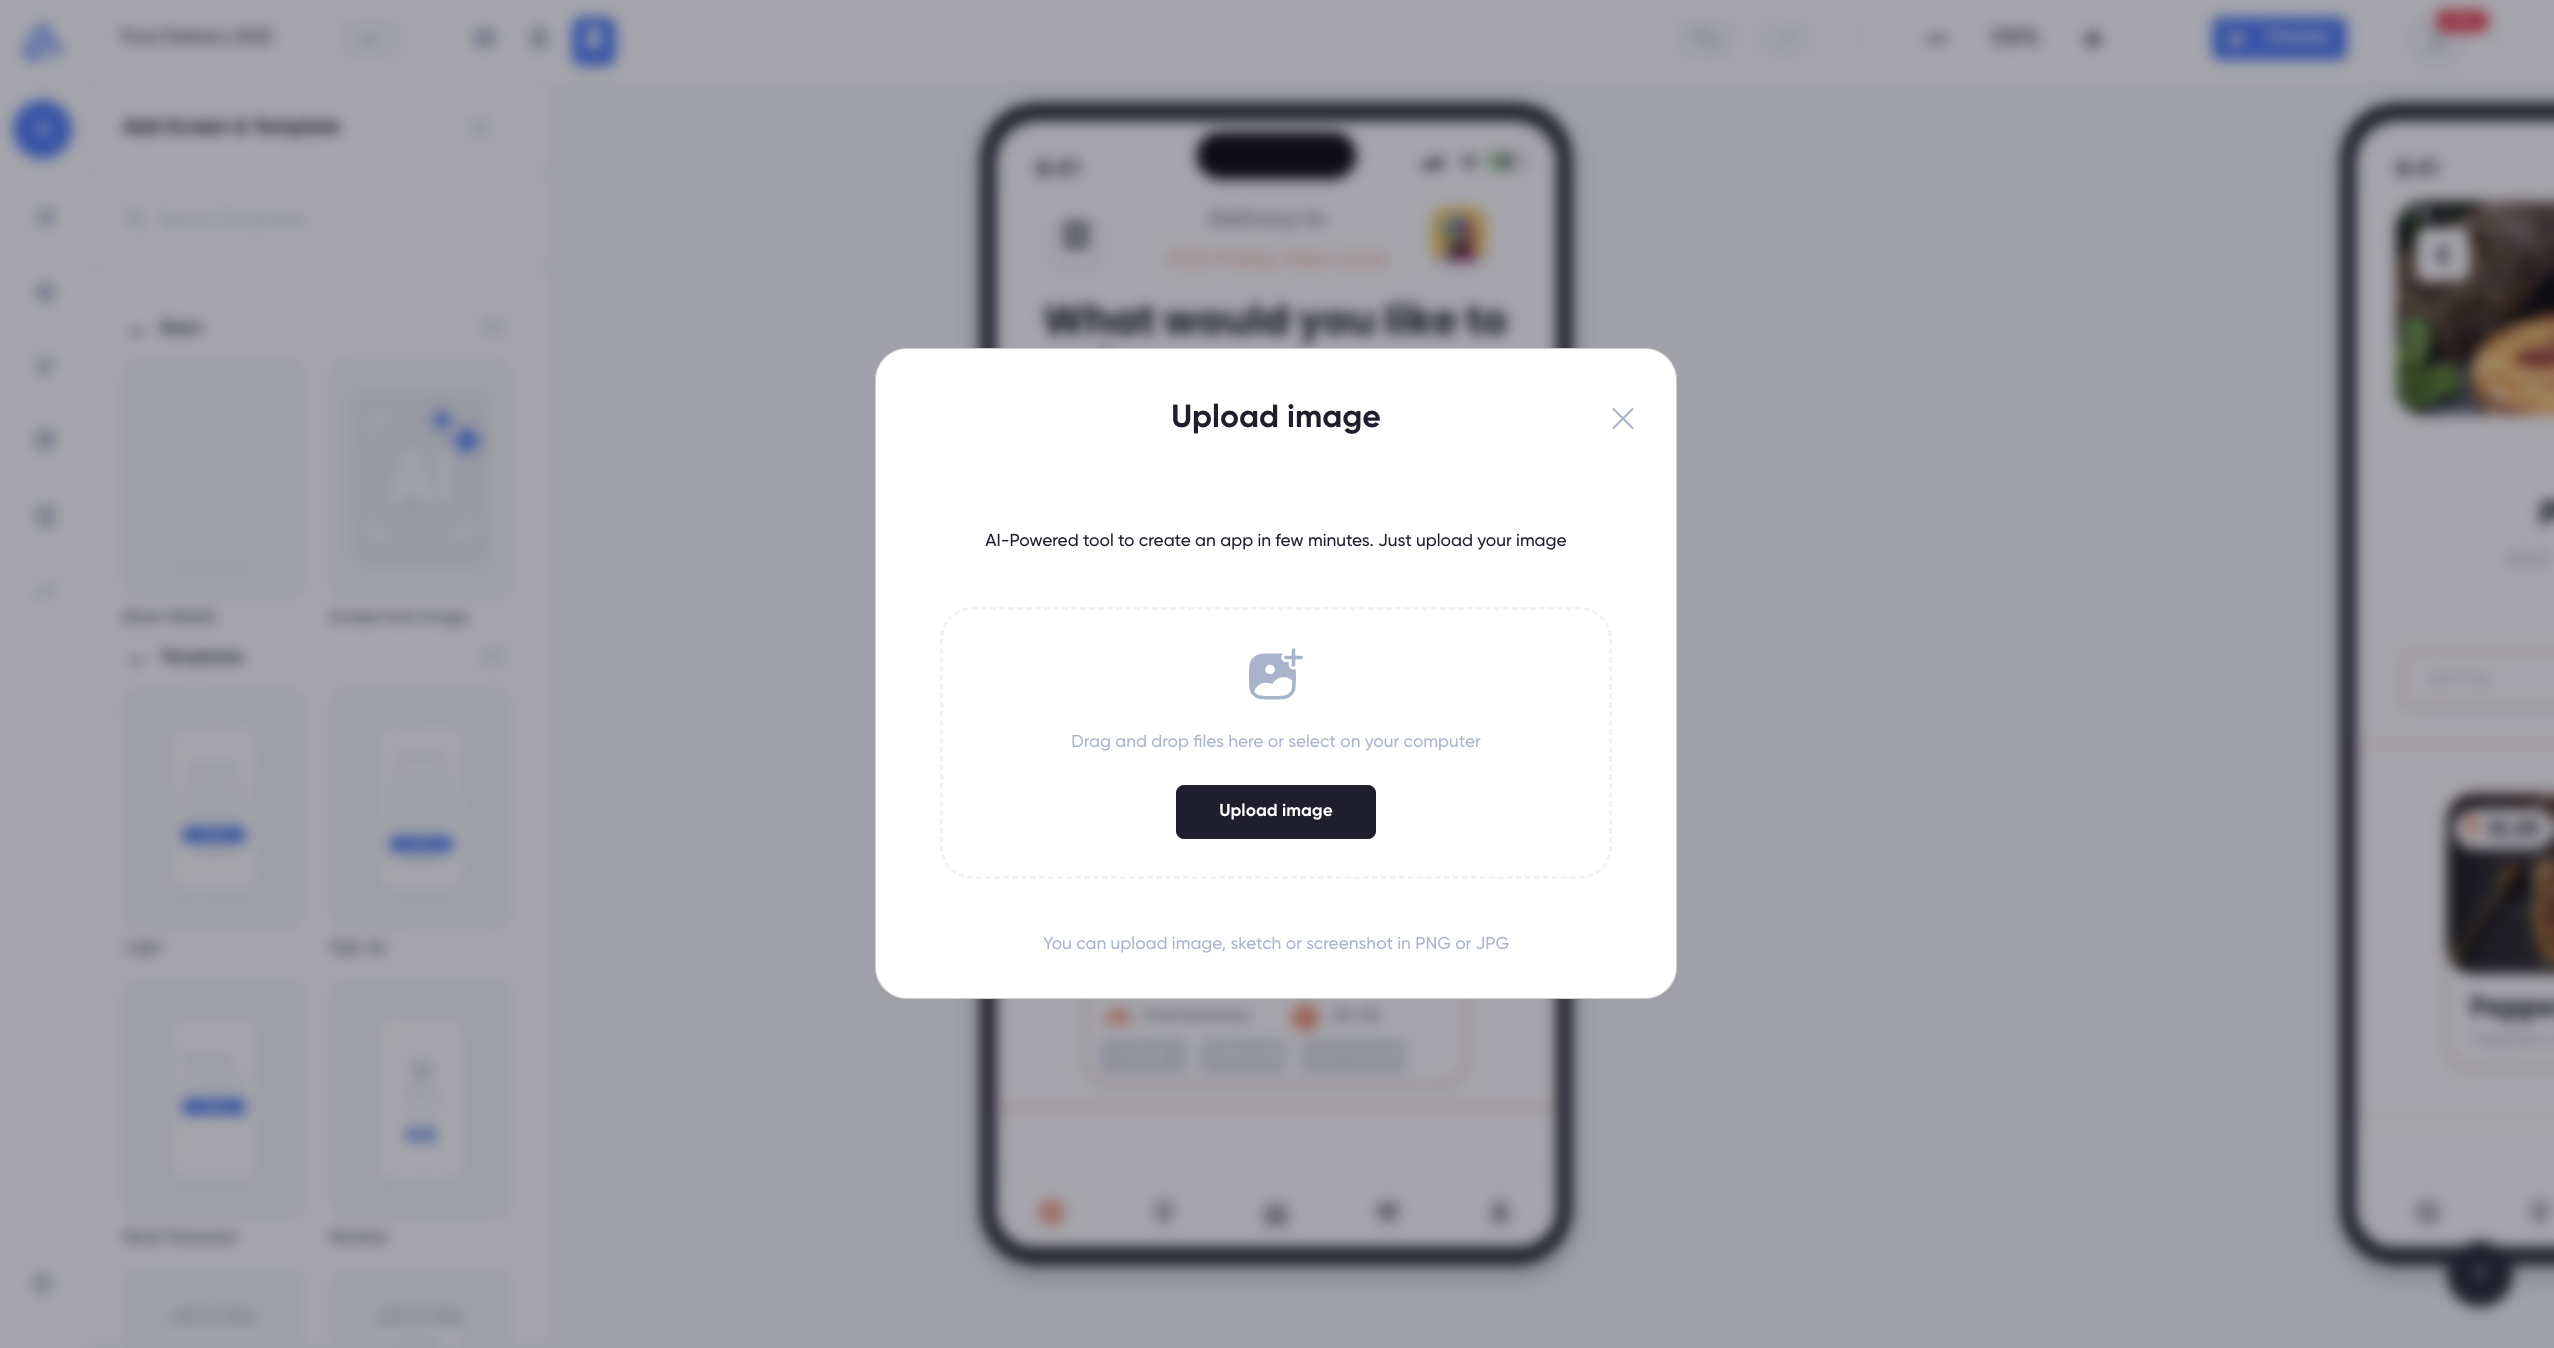
Code generation with AI
Well, how can we do without AI? We decided that it is a must-have and made a separate section in the menu, where you can use text descriptions to create components directly in our constructor. Imagine: you write, for example, “create a payment card with a shadow and a highlighting effect when pointing”, and our AI does it all for you. Even if this effect is not in the designer's settings, it still works - all because we have React.
And if you need even more flexibility, there is an extension of this feature - “Code injection”. Right after generating a component, a window appears where you can edit the code or insert your own. It's not the most flexible tool yet, but it works.
Direct Publishing
To be honest, we were surprised ourselves when we found out that there are entire companies that charge money just to wrap your app and upload it to the Apple Store or Google Play. We thought, why pay someone to do that when you can just build such a feature right into the platform?
So we made it part of one of our pricing plans - without any middlemen. How does it work? It's simple:
- You create your Apple Store or Google Play account and fill out whatever they require.
- You insert the necessary keys and upload all the necessary data (photo, description) directly in our builder.
- click “New build” and you're done!
Works great and publishing takes only about 15 minutes. Easy, fast and without unnecessary headaches.
What’s next?
We've already made a lot of cool features, but we're definitely not going to stop there. We have two big directions we want to go in.
- AI-generation. Yes, vicoding is cool, but it's still not enough for full-fledged mobile app development. We believe that if we combine AI-generation with manual customization, we will take development to the next level. Now we are actively working on making our AI able to generate not only individual components, but entire screens. After that, we will start generating logic. It's not an easy path, but it's definitely worth it.
- Your requests. We always welcome feedback. In our roadmap you can leave any requests for new features, and we will try to realize them. It's important to us that our platform really helps you and meets the needs of the market.
Our goal is to add so much functionality that you can realize any idea and cover the whole range of tasks you may need. We want you to always have the right tool at your fingertips - so you can create whatever you have in mind.
Conclusion
We at AppStruct have always believed that creating mobile apps should be simple, clear and fast. It is with this belief that we approached the development of our platform: we took the best of what is available on the market, added convenient features and simplified everything we could.
We do not stop at what we have achieved: we are actively working on new features, listening to your wishes and improving our platform every day.
Thank you for reading us. Let's make application development easier and more accessible for everyone.
I look forward to your comments!