Social publishing
Connect supported channels, prepare posts, and follow each publishing result from your workspace.
Connect a channel
Open Social and go to Channels. Start with a network listed as available in your account. The channel list distinguishes connectable networks from those awaiting platform review or not yet available.
- Choose a channel under the available networks.
- Follow its connection instructions. Depending on the network, you may need an app password, an access token, a webhook URL, or permission for a publishing bot.
- Complete the connection and check that the channel appears in the connected section.
- If a connected channel requests reconnection, repair that channel’s connection before scheduling more posts to it.
Networks such as Bluesky, Discord, Mastodon, Telegram, WordPress, and Ghost have connection flows in the web app. Availability is determined by the service for your account; a network’s logo alone does not mean it is ready to publish.
Follow the interface
Check channel connections, preview a post for its destination, and manage the publishing queue.
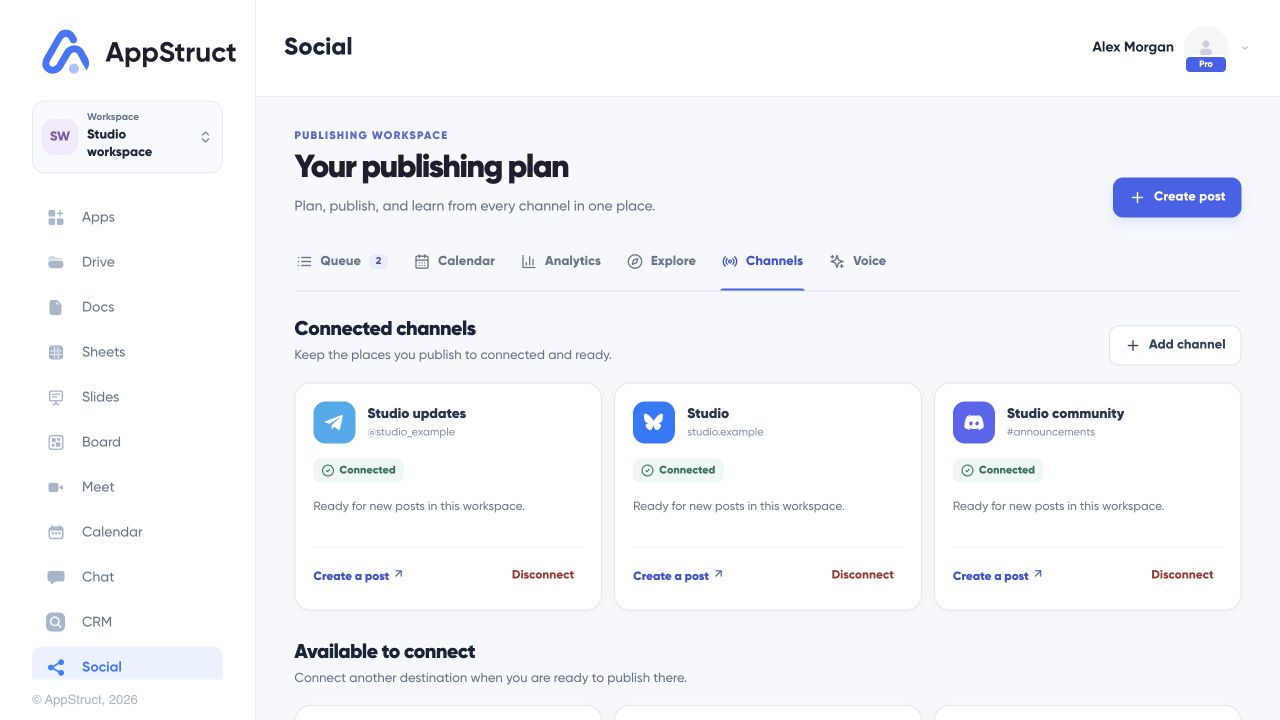
Open Social and choose Channels to see the destinations available to this workspace before composing a post.
Web interface captured on 5 Nov 2026. Channels, connection states, posts, schedules, publishing statuses, and summary counts are fictional examples. No channel was connected and no post was published during this capture.
Prepare and schedule a post
Write the post in the composer and select its target channels. Review channel-specific requirements and media before choosing a publishing action. Blog destinations can need a headline or additional fields; media-only destinations can require an attachment.
Choose a publishing time for a scheduled post and review the time zone. The queue and calendar help you distinguish Drafts, scheduled work, and Published results.
Social scheduling needs a successful server response. An unsaved draft or a failed request is not a scheduled post. Wait for confirmation before closing the page.
Review results per channel
A post can have several targets. Check each target’s result rather than assuming that a successful publish to one network means all targets succeeded. Use the reported failure reason to correct credentials, permissions, media, or content requirements before retrying.
Disconnecting a channel stops its scheduled posts from publishing to that channel. Review pending work before disconnecting.
Use a consistent voice
If you create a writing voice from previous posts, supply at least three meaningful samples with about 200 words in total. The form shows whether there is enough material to read a voice from; review generated drafts before publishing.